
Getting started
Getting started with WPInsight
3 min read
From sign-up to your first insights in a few minutes. Here’s the path.
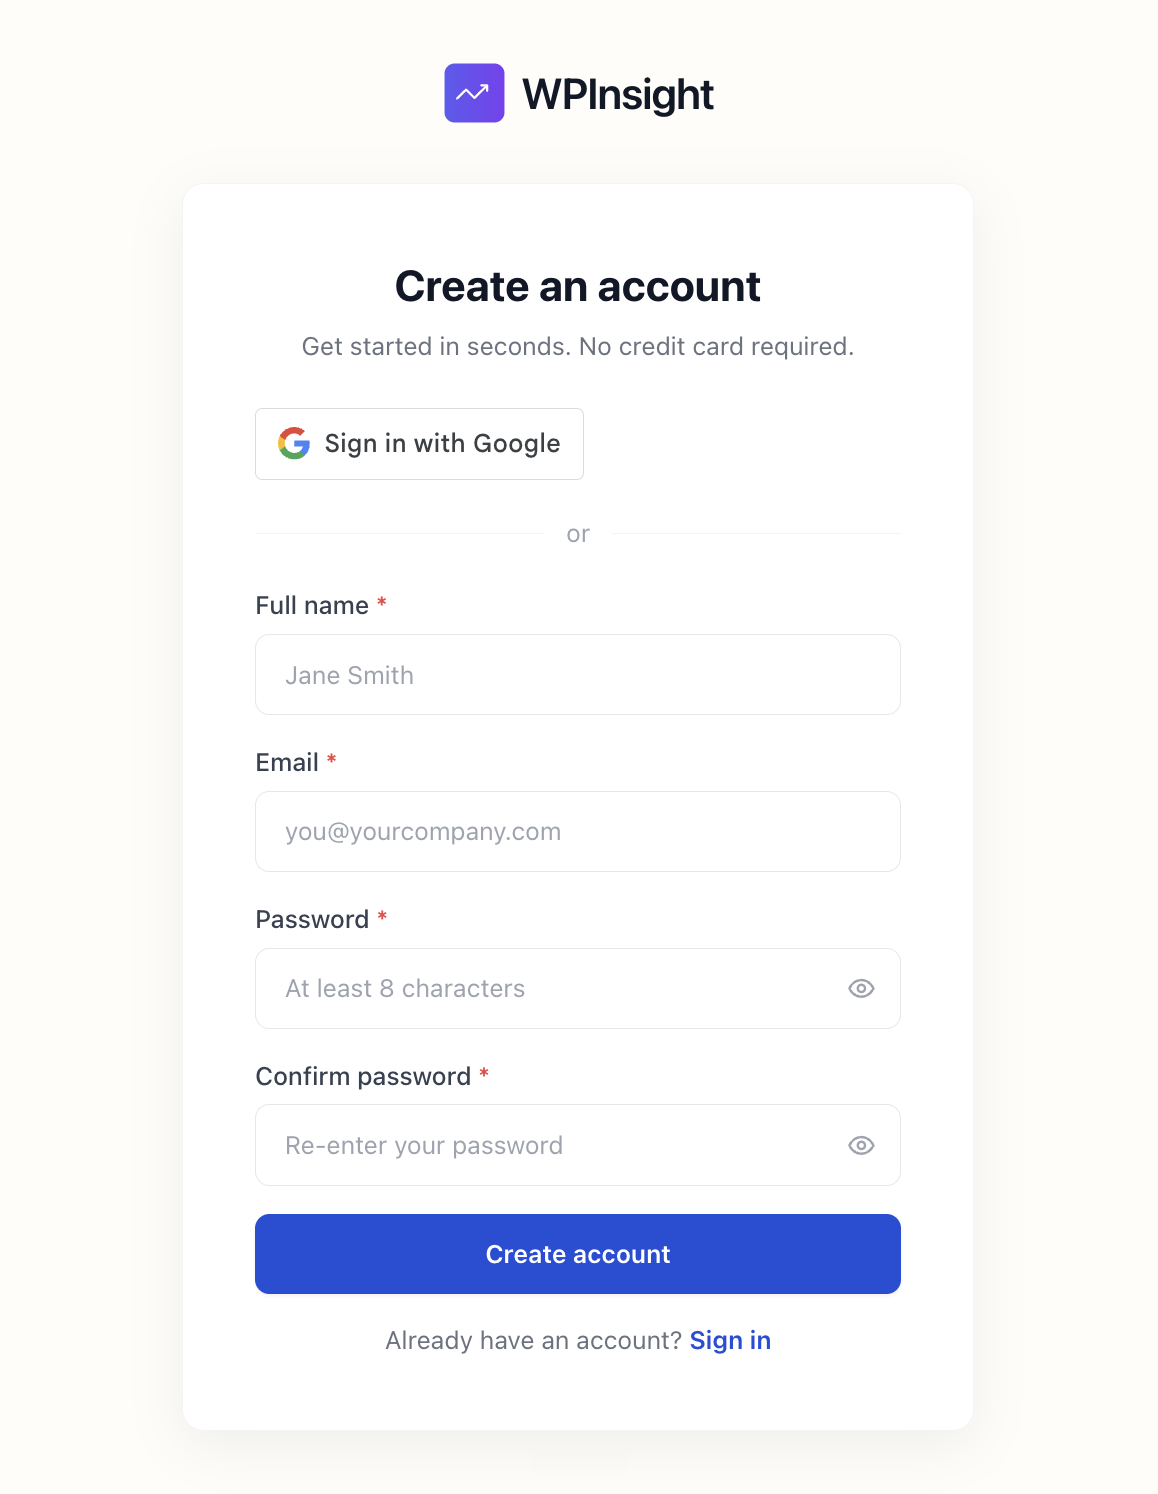
How to create your account
- Register on the sign-up page with your email and password — this creates your account and your first workspace in one step.
- Prefer Google? On the login page, click
Sign in with Google. You’ll set up your workspace right after (see the next section).
How to set up your workspace
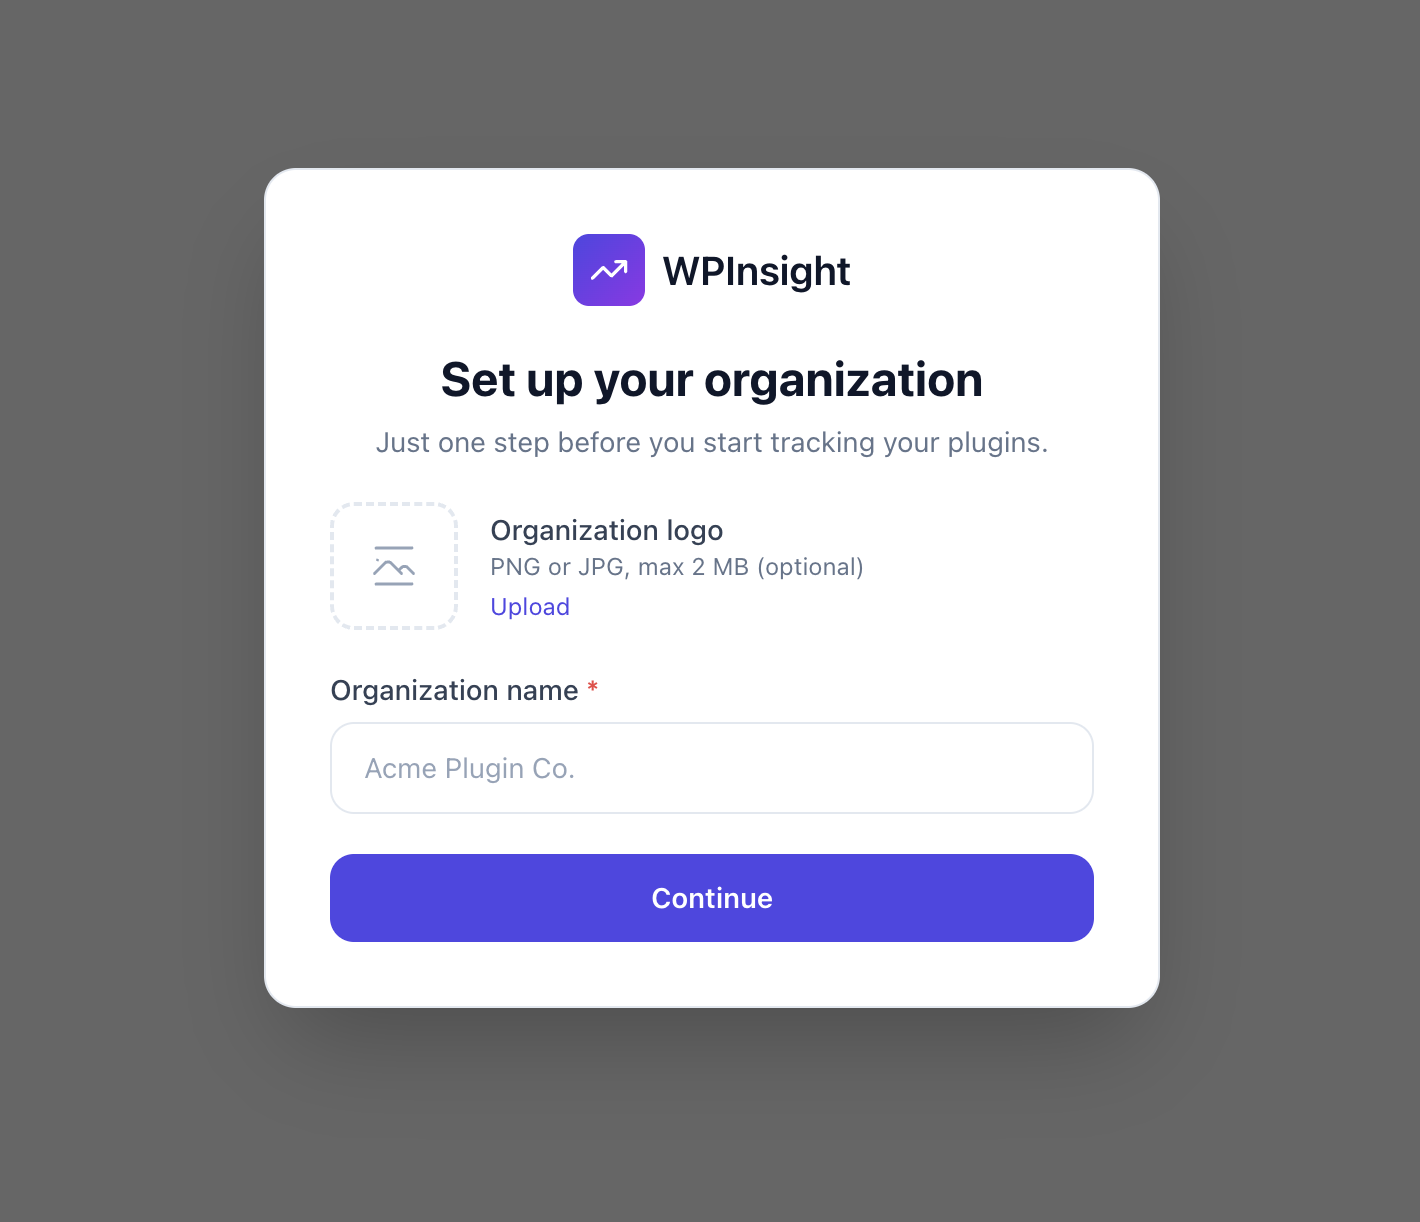
A workspace is your company’s private space in WPInsight — its own plugins, keywords, settings, and team, kept fully separate from every other workspace.
- On the setup screen (“Set up your organization”), give your organization a name and (optionally) upload a logo.
- You’re set as the workspace owner, with full control.
You can invite teammates and manage roles later in Settings & roles.
How to track your first plugin
This is the core of WPInsight — add a plugin and it starts collecting data immediately.
- Open the Plugins page and click
Track new plugin. - Search WordPress.org or paste a plugin slug, preview it, and add it.
Full walkthrough: Track your first plugin.
What to do next
Once your first plugin is tracked, these are the high-value next steps:
- Add keywords to track your WordPress.org search positions — see Add keywords to track rankings.
- Check your dashboard for the portfolio overview — see Dashboard.
- Connect Slack to get alerts in your team channel — see Slack integration.
- Invite your team and set their roles — see Settings & roles.
- Watch the competition for your keywords — see Competitor intelligence.
Plan limits & upgrading
The free tier lets you try WPInsight with a small number of plugins and keywords. When you’re ready for more (or for paid features like Slack, competitor tracking, and AI tools), upgrade from Billing & subscriptions.
New here? Start with What exactly does WPInsight do?.