
Tracking
Track your first plugin
3 min read
WPInsight starts tracking a WordPress plugin the moment you add its slug. Here’s how:
How to add a plugin
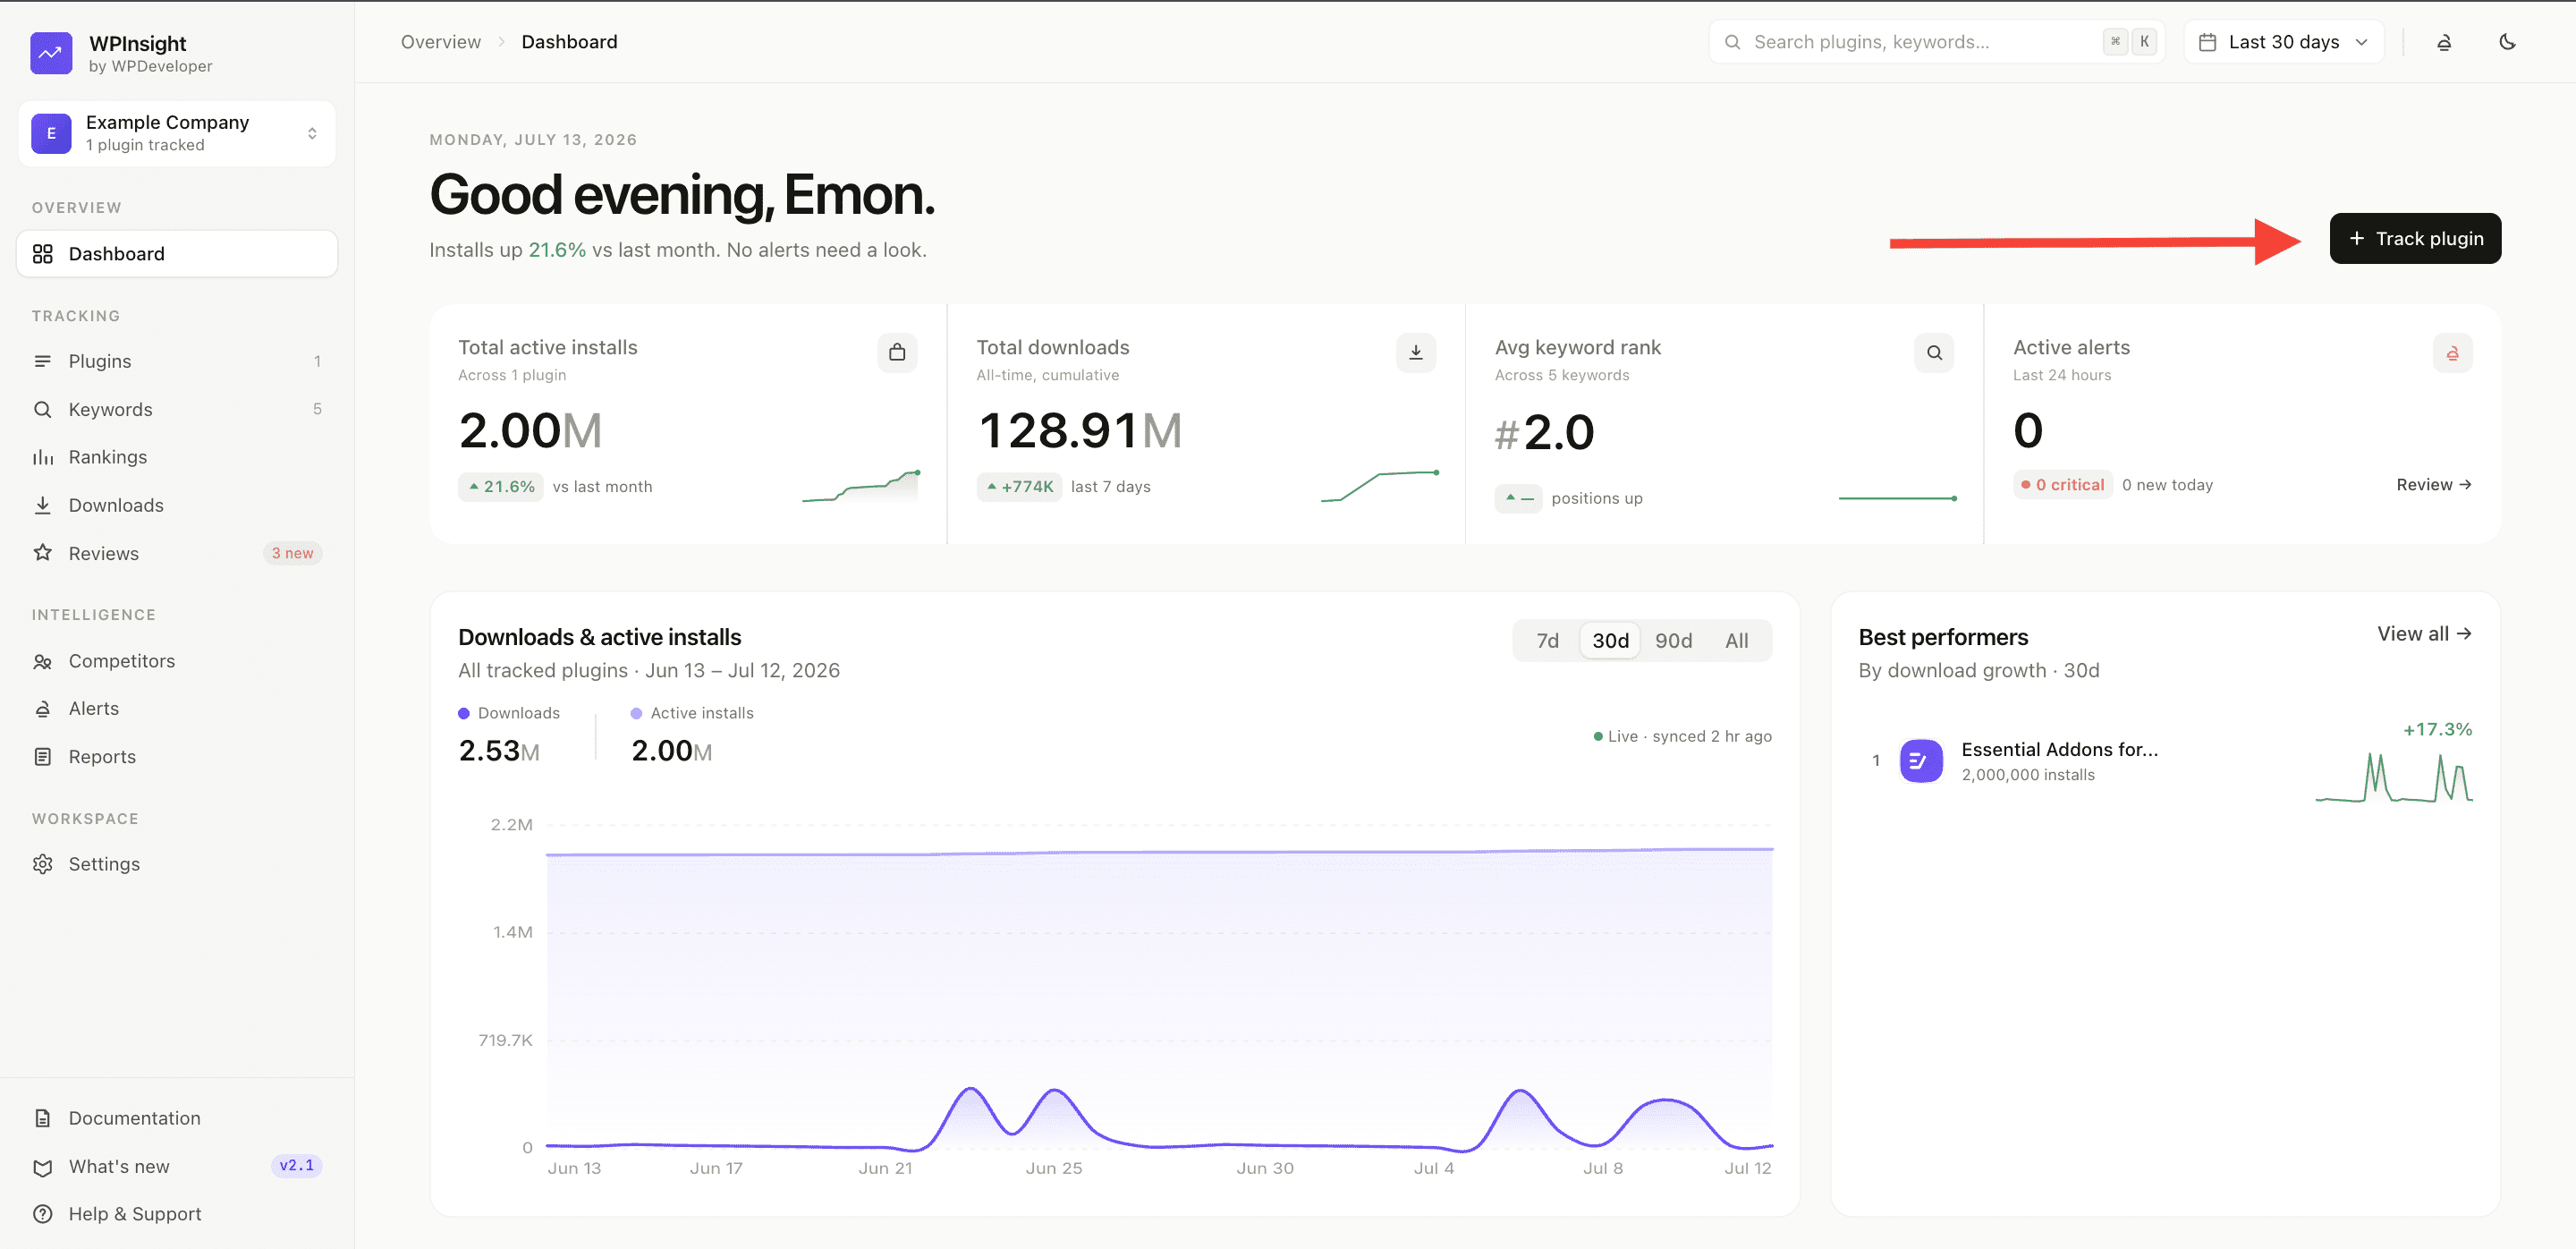
- Click the
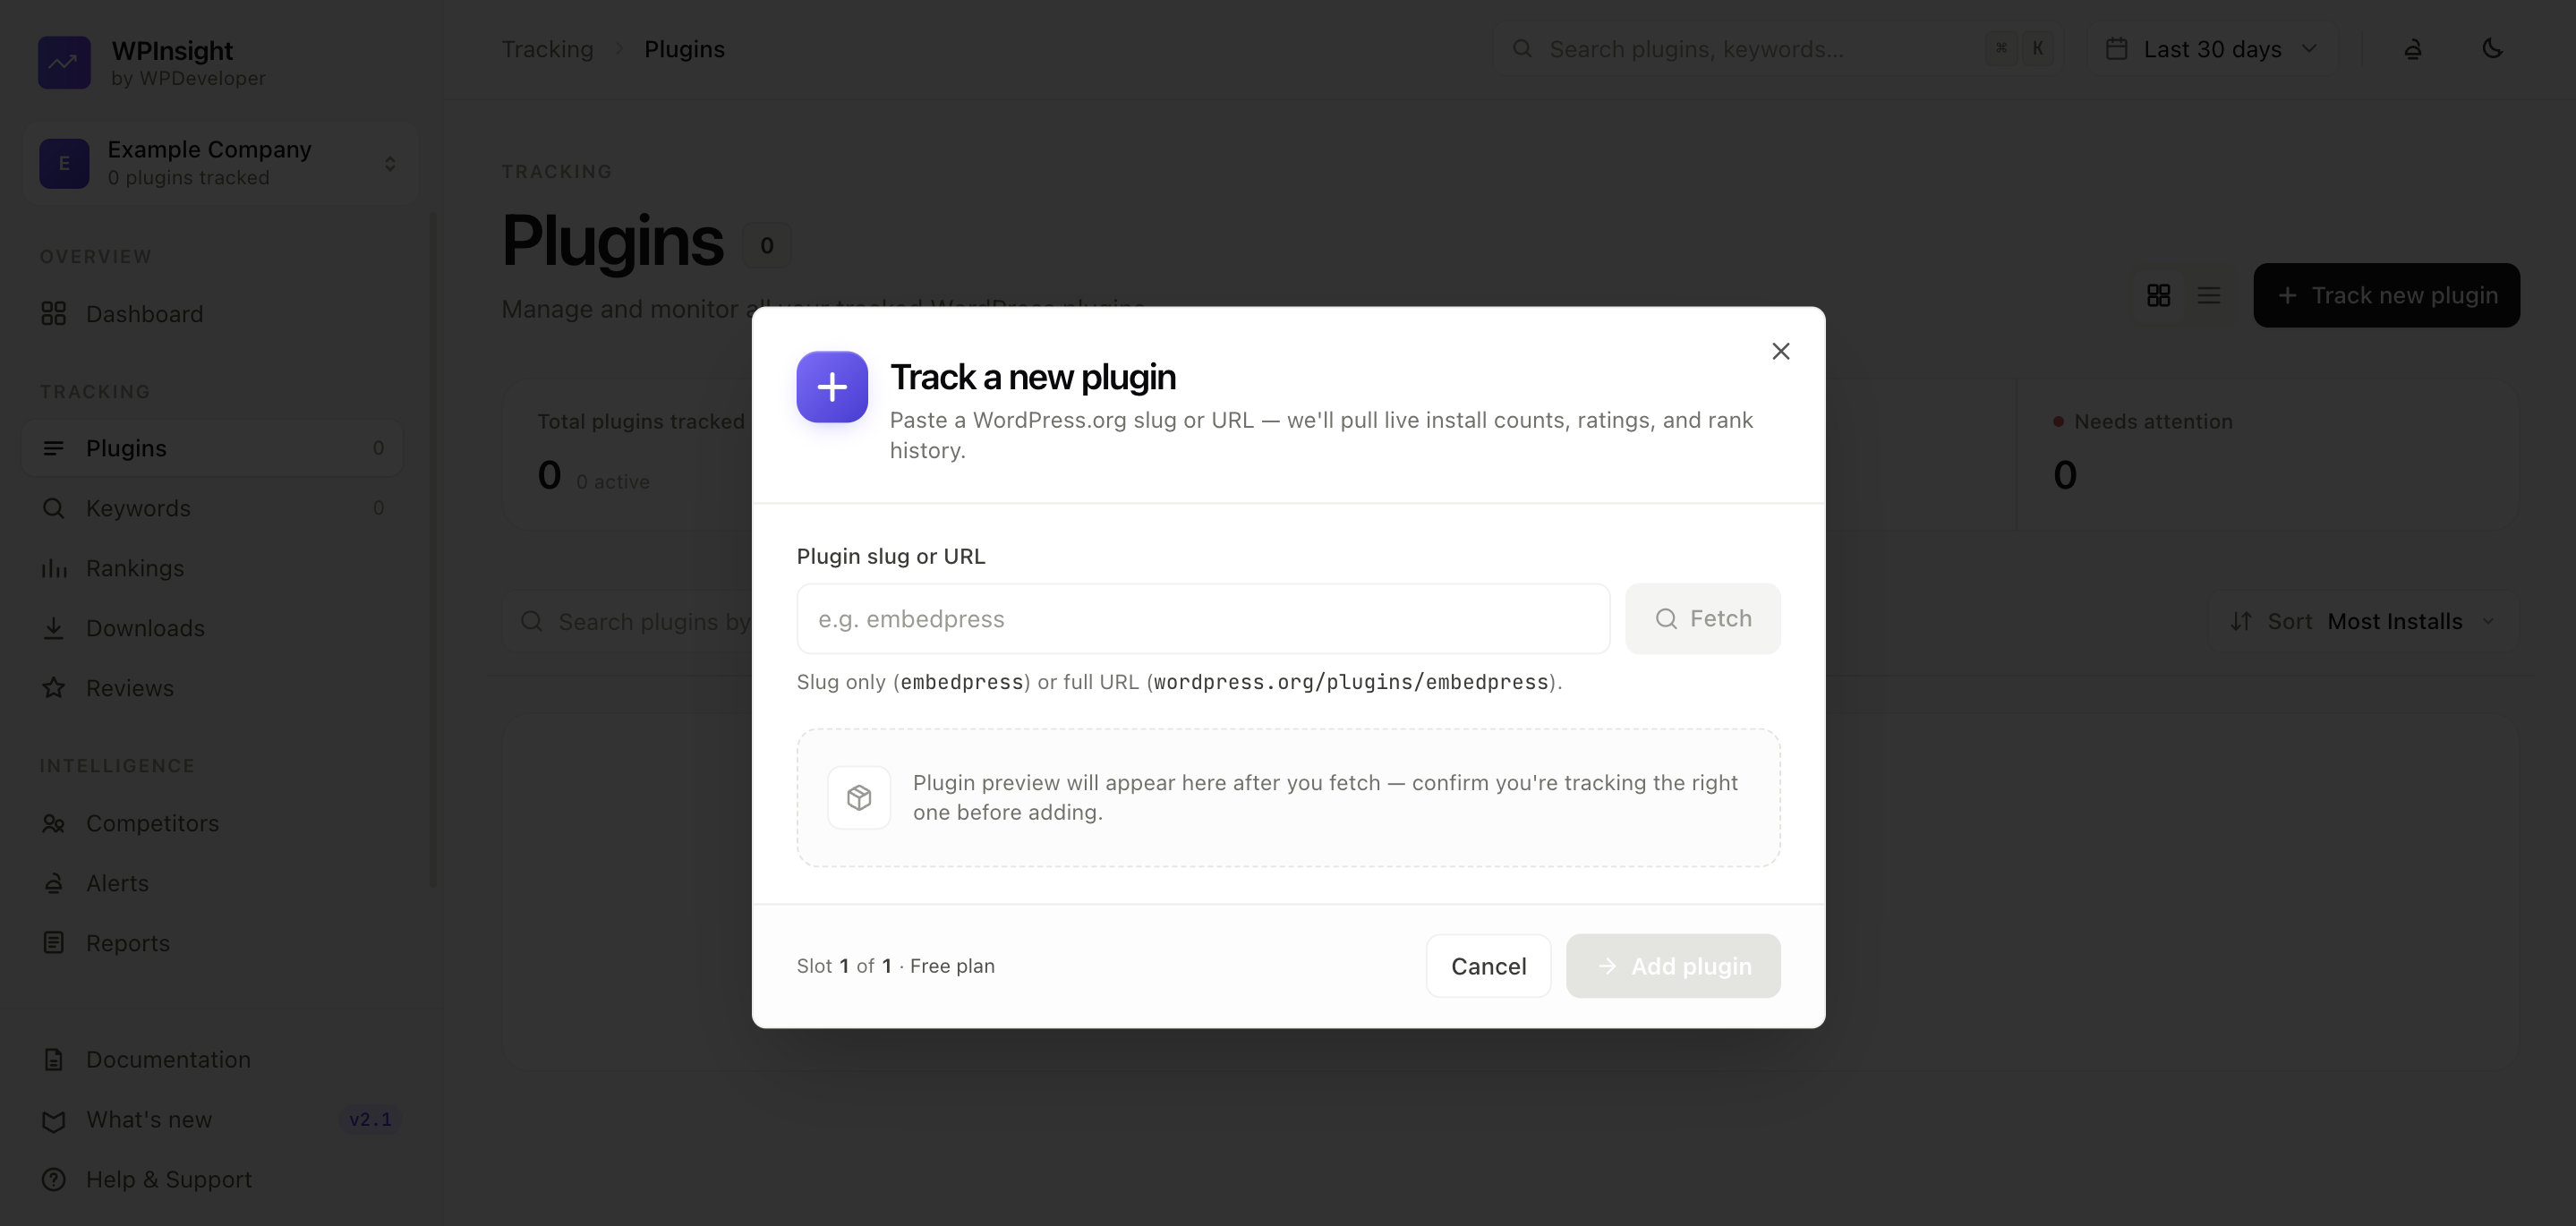
Track new pluginbutton in the top-right of the Plugins page, or use the global search (⌘K) and select “Track a new plugin.” - Enter the plugin slug (e.g.,
embedpress) or paste the full WordPress.org URL. - Click
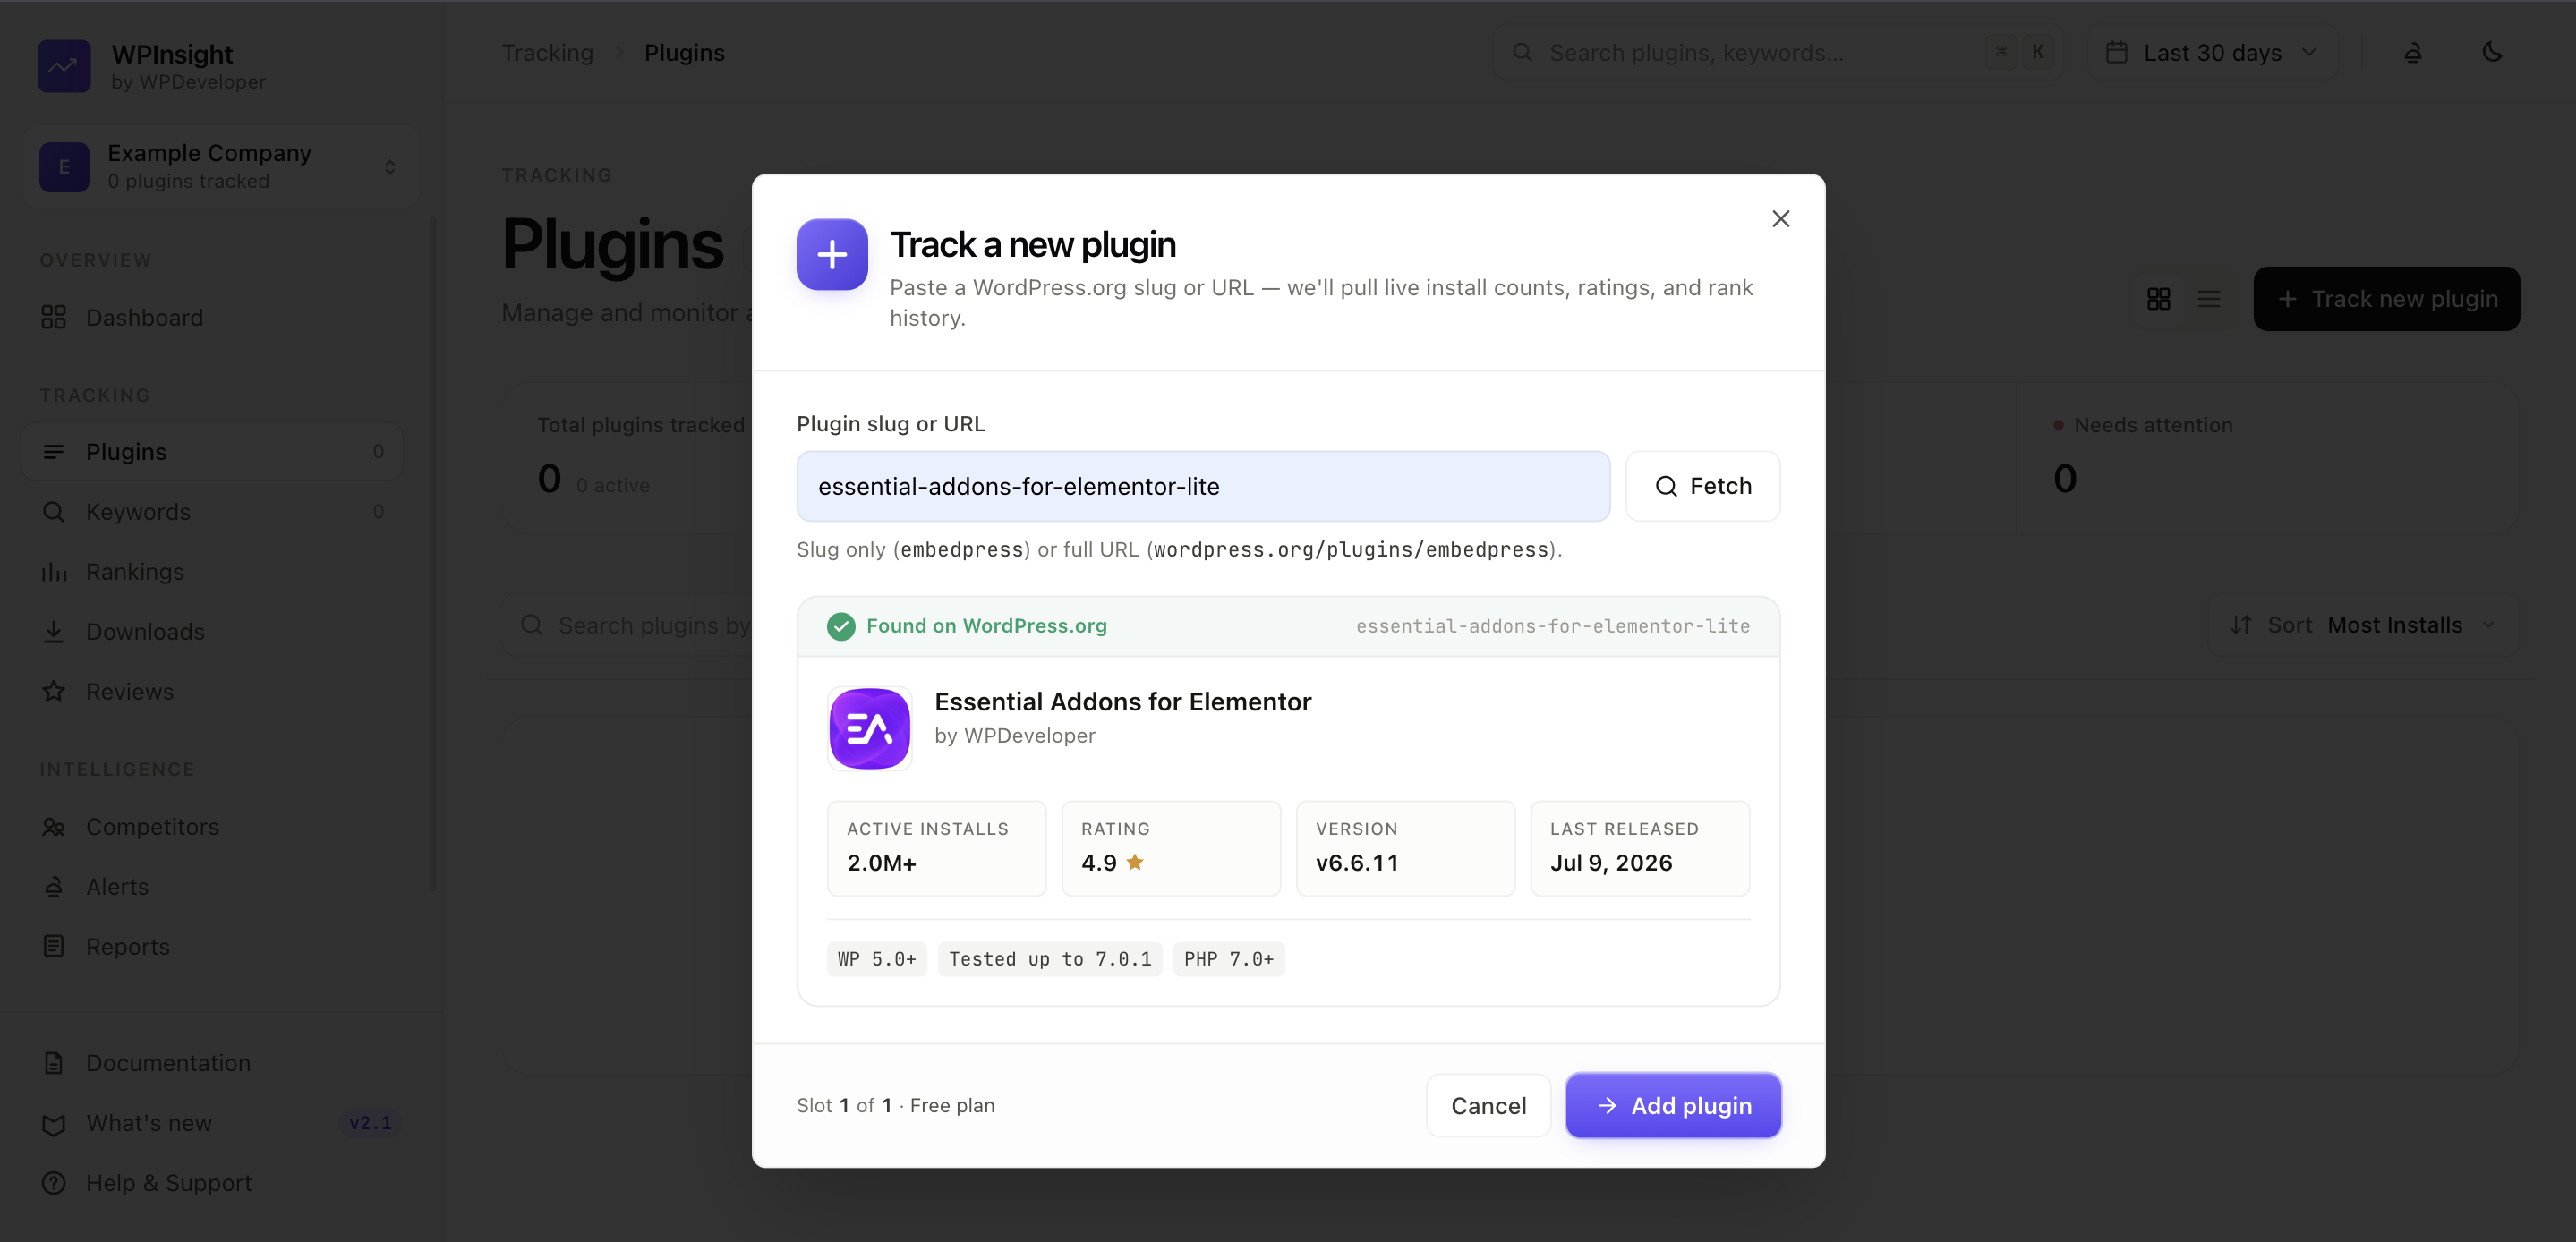
Fetchto preview the plugin. Confirm it’s the right one by checking the name, active installs, and rating. - Click
Add plugin. WPInsight will start collecting data immediately and continue refreshing it on schedule.
What gets tracked automatically
- Active installs (daily)
- Total downloads (daily)
- Plugin rank on WordPress.org (daily)
- Reviews and ratings (when new ones appear)
- Plugin version and last update date
What’s on the plugin detail page
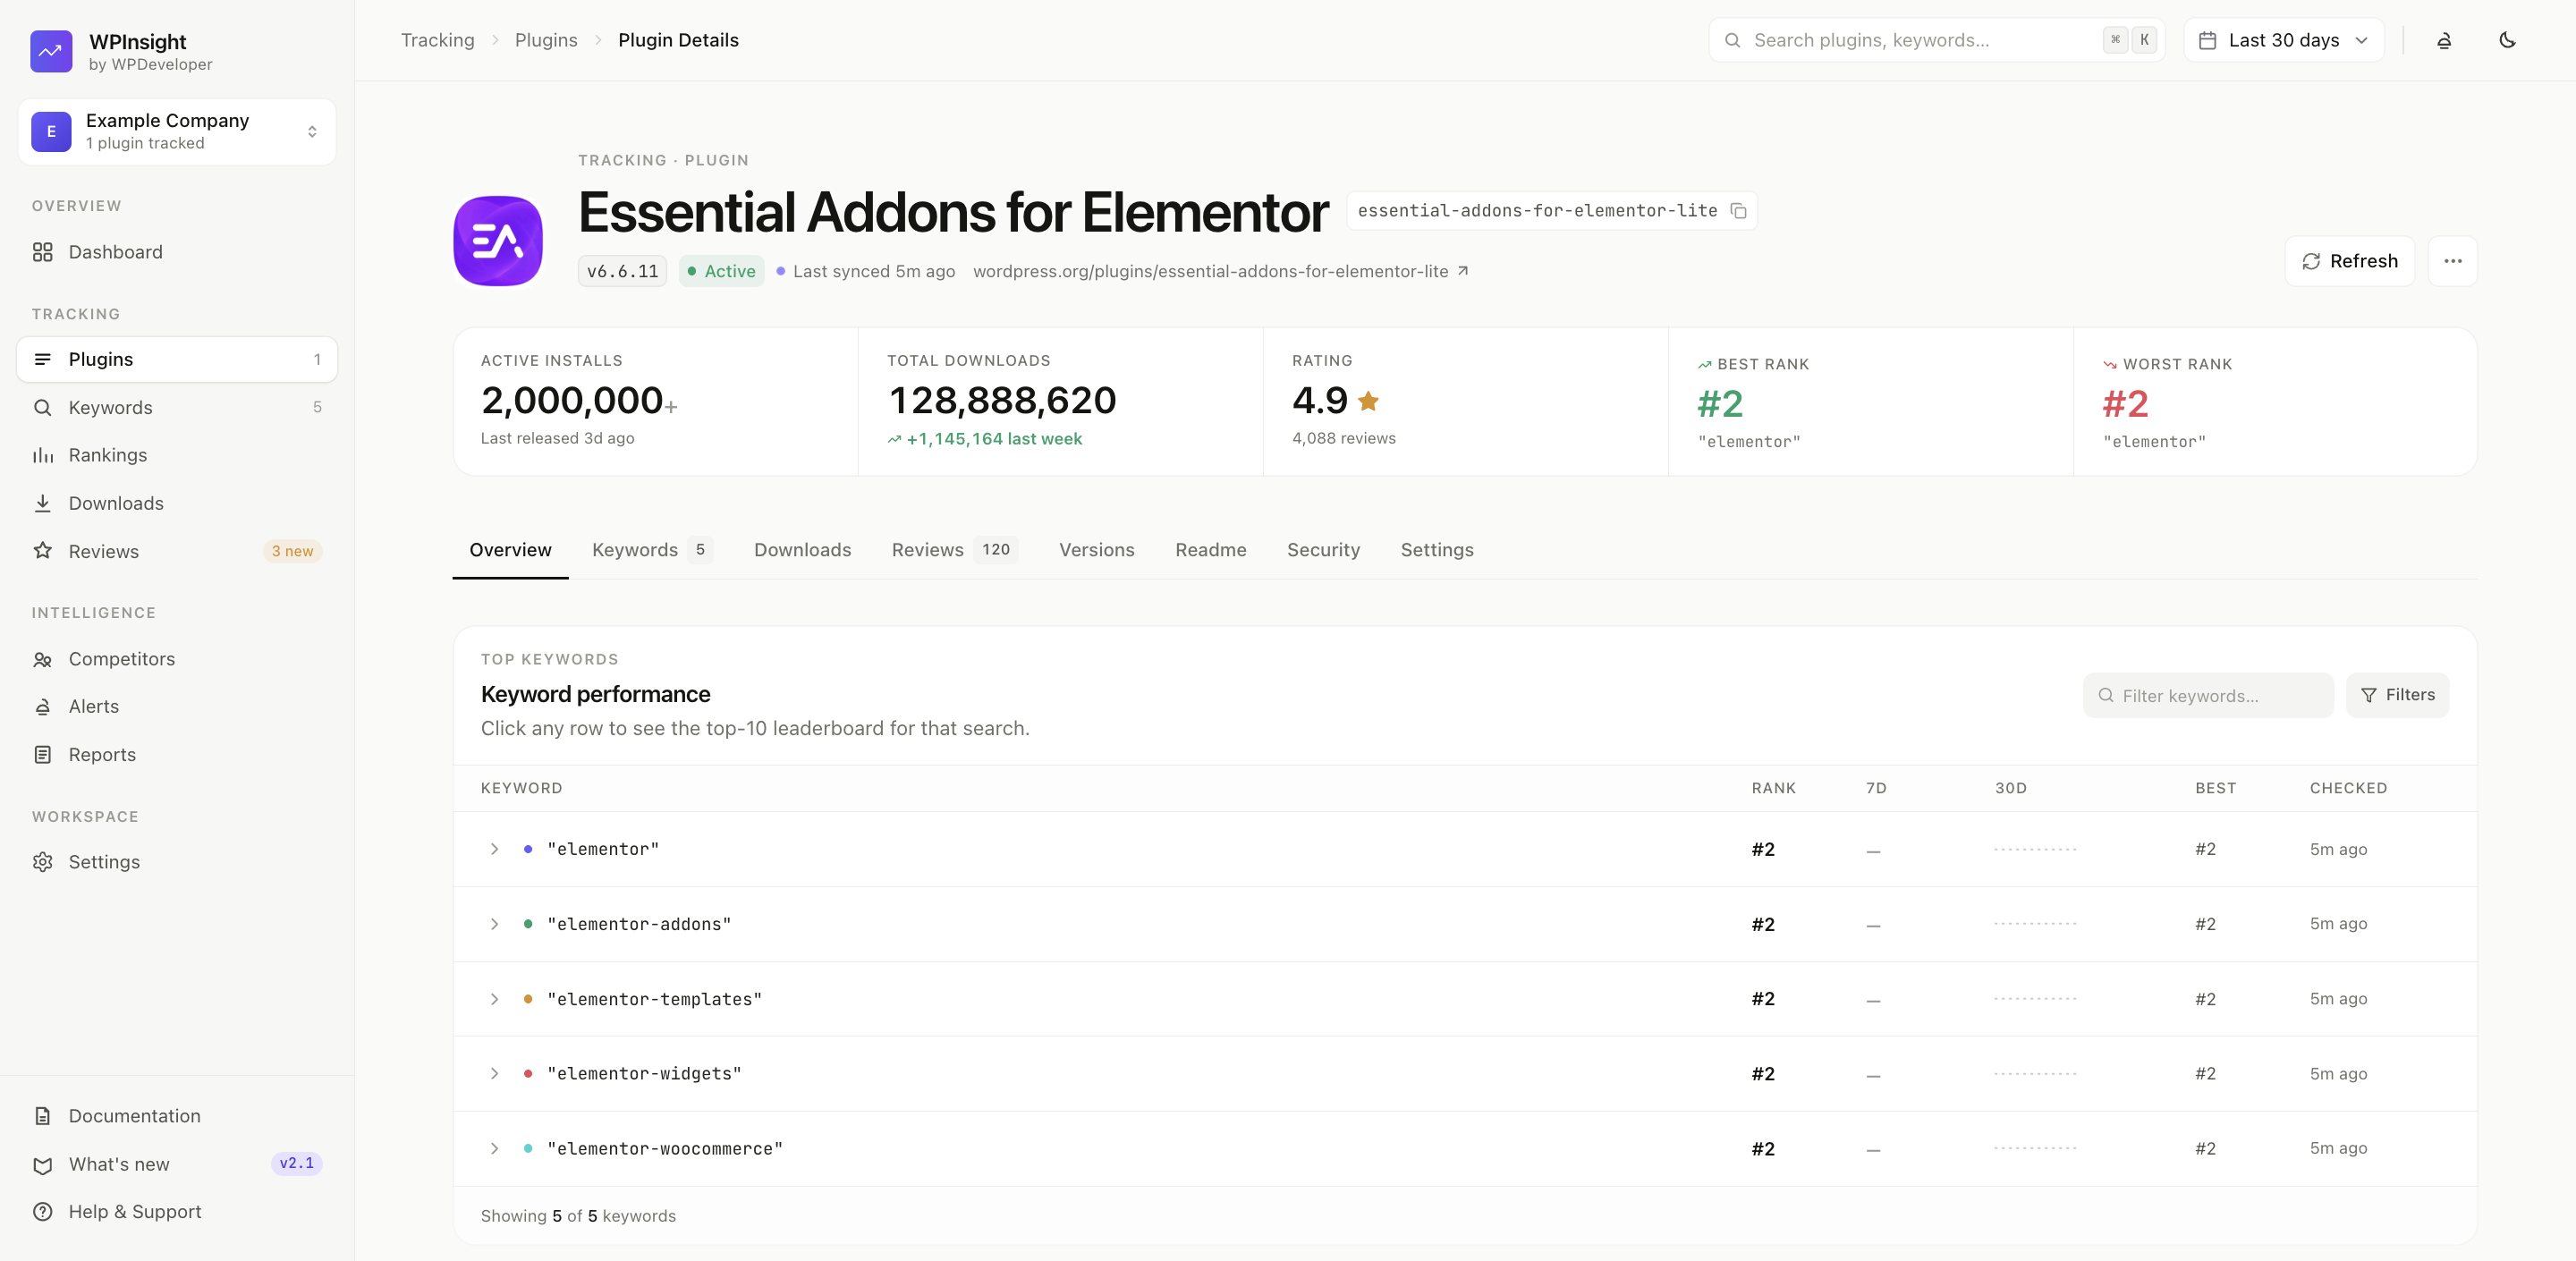
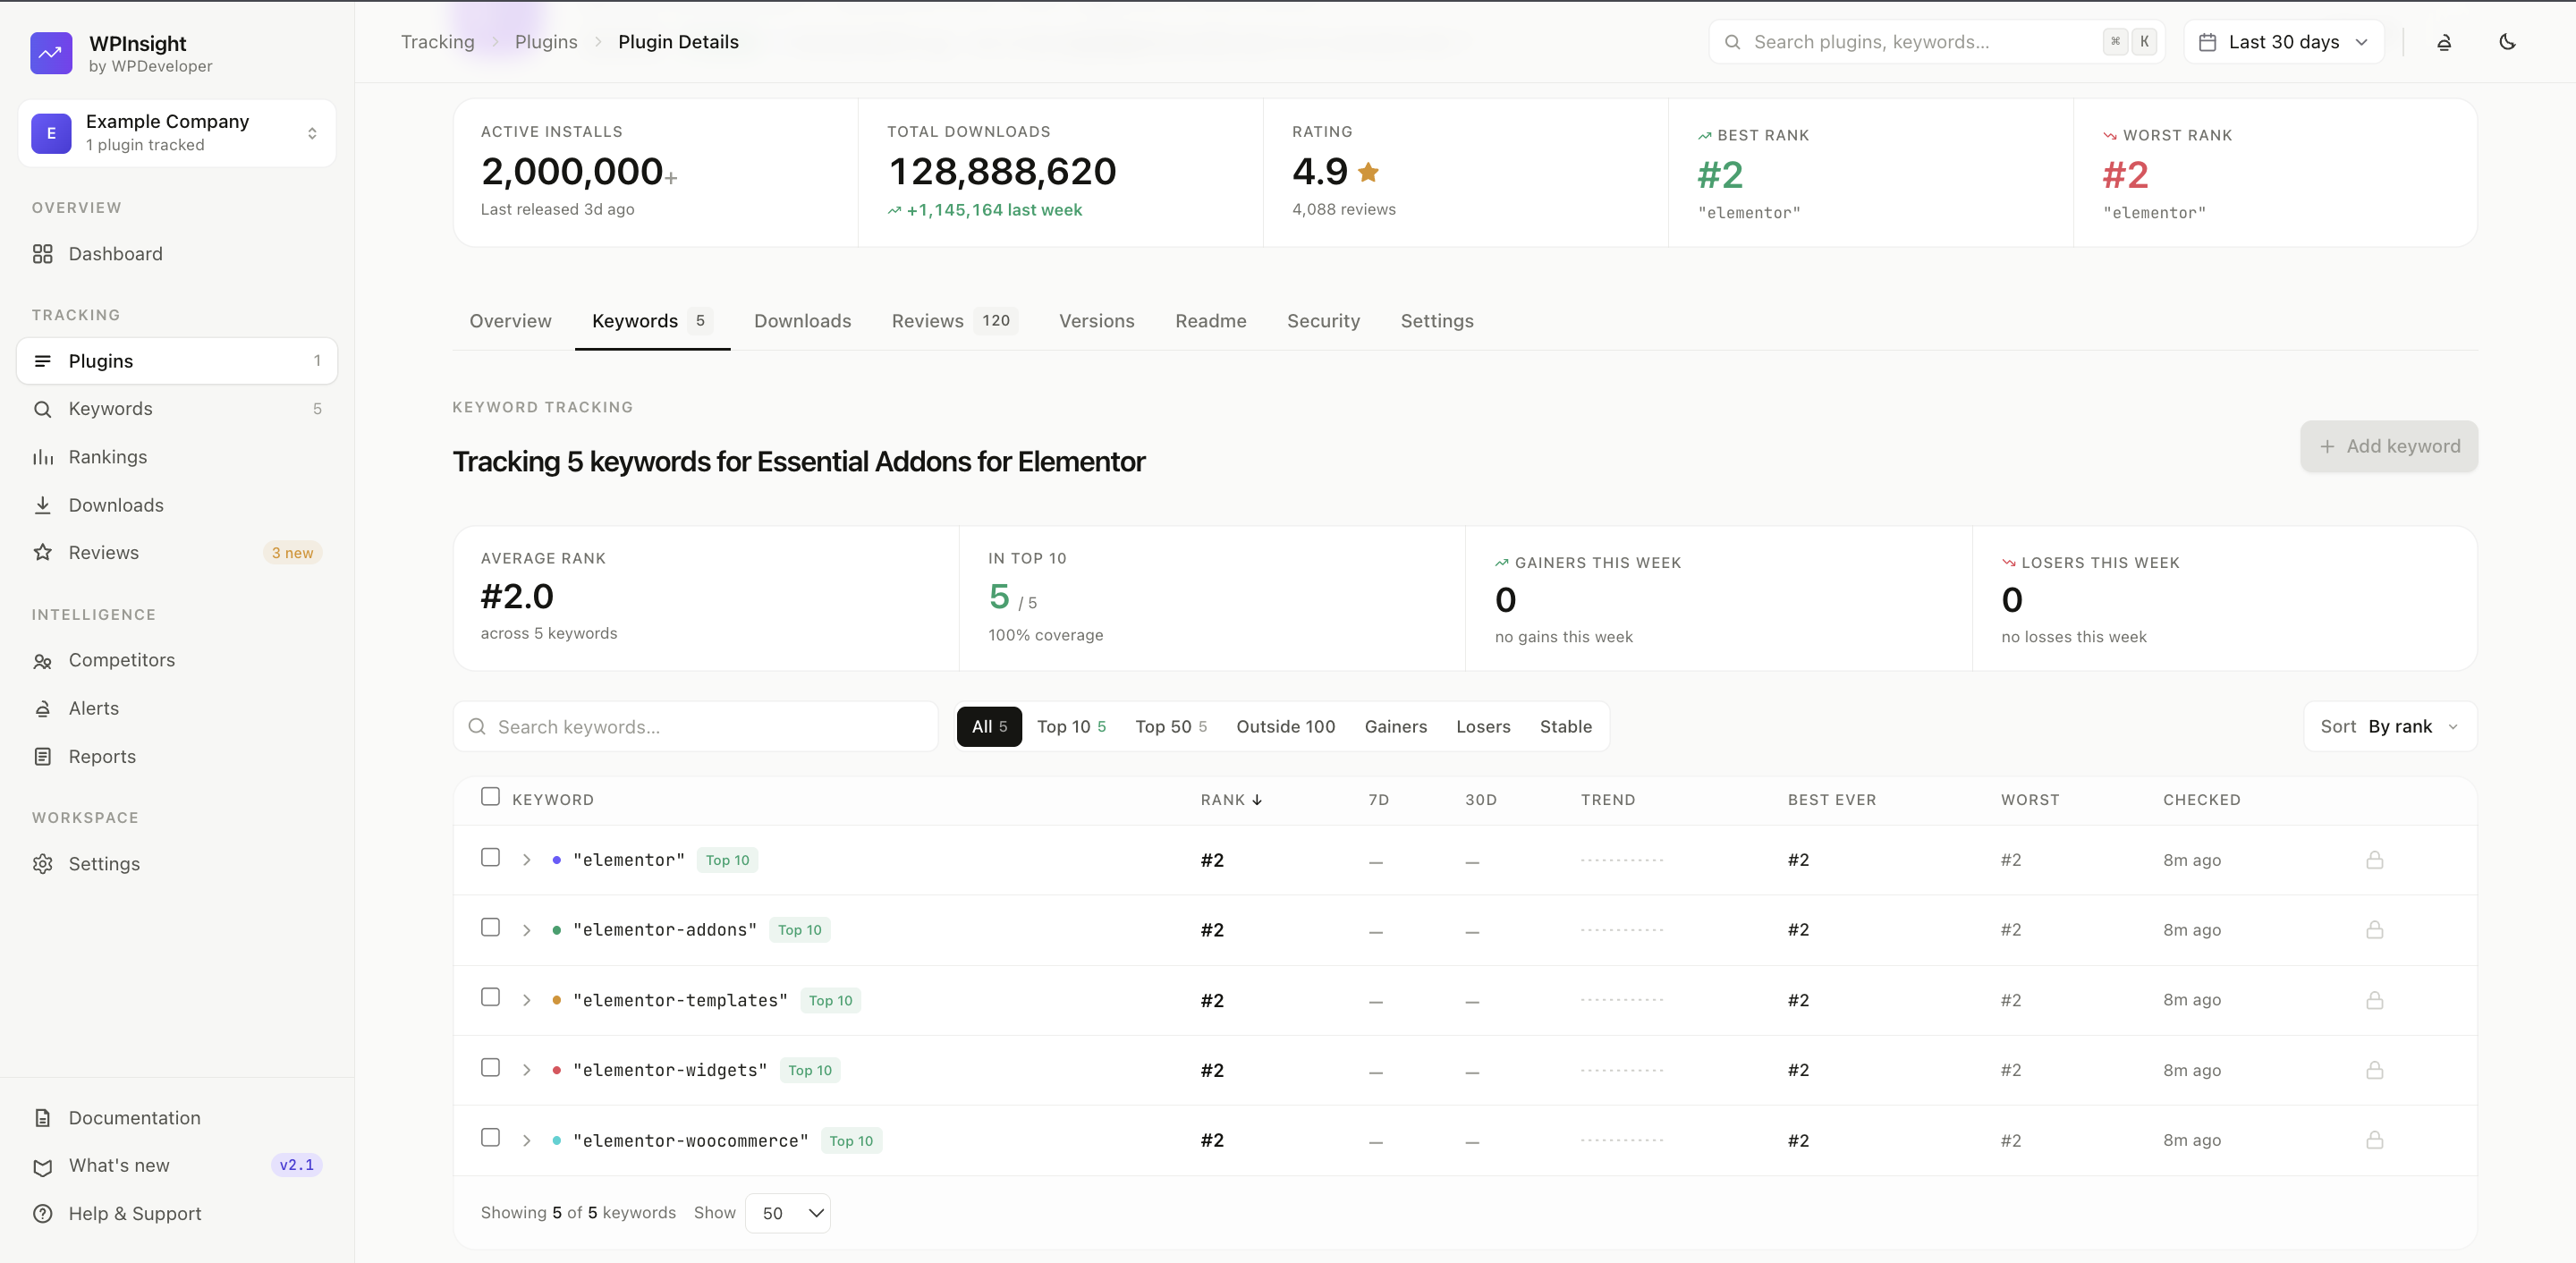
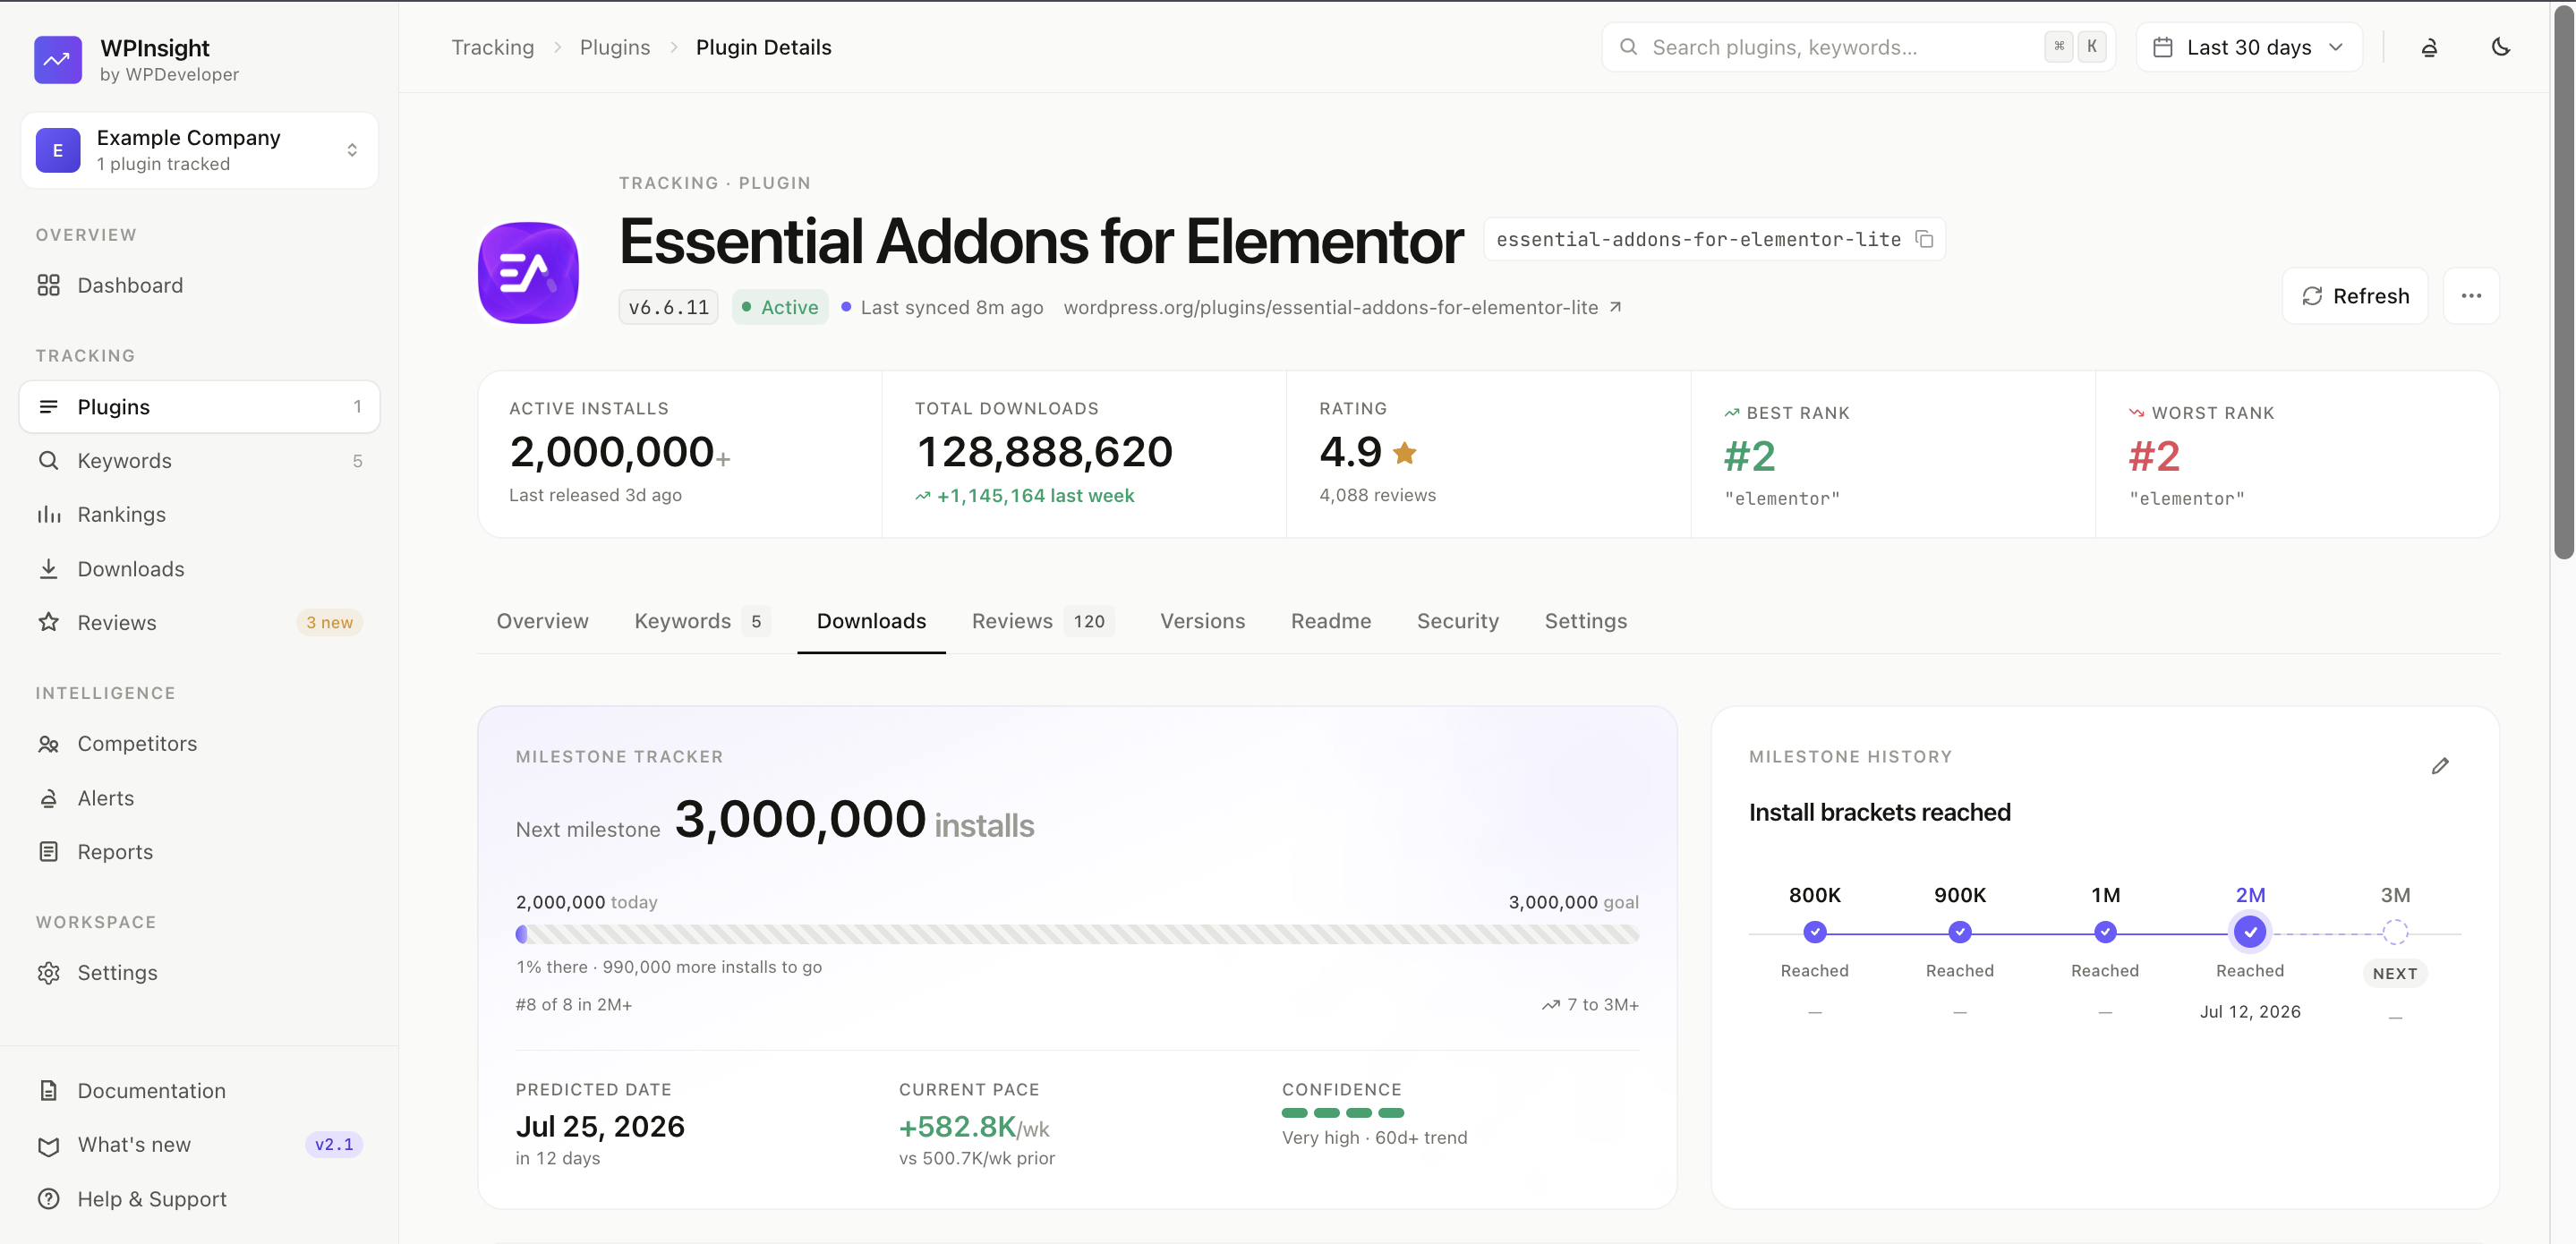
Click any tracked plugin to open its detail page — every metric WPInsight collects, organized into tabs (Overview, Keywords, Downloads, Reviews, Versions, Readme, Security, and Settings).
The Versions and Readme tabs
Two of the detail-page tabs are worth calling out:
- Versions — the plugin’s release history and changelog, with per-version adoption and ratings.
- Readme — your plugin’s WordPress.org readme, with a built-in validator and an optional AI rewrite. See How to rewrite a readme.
How to manage your tracked plugins
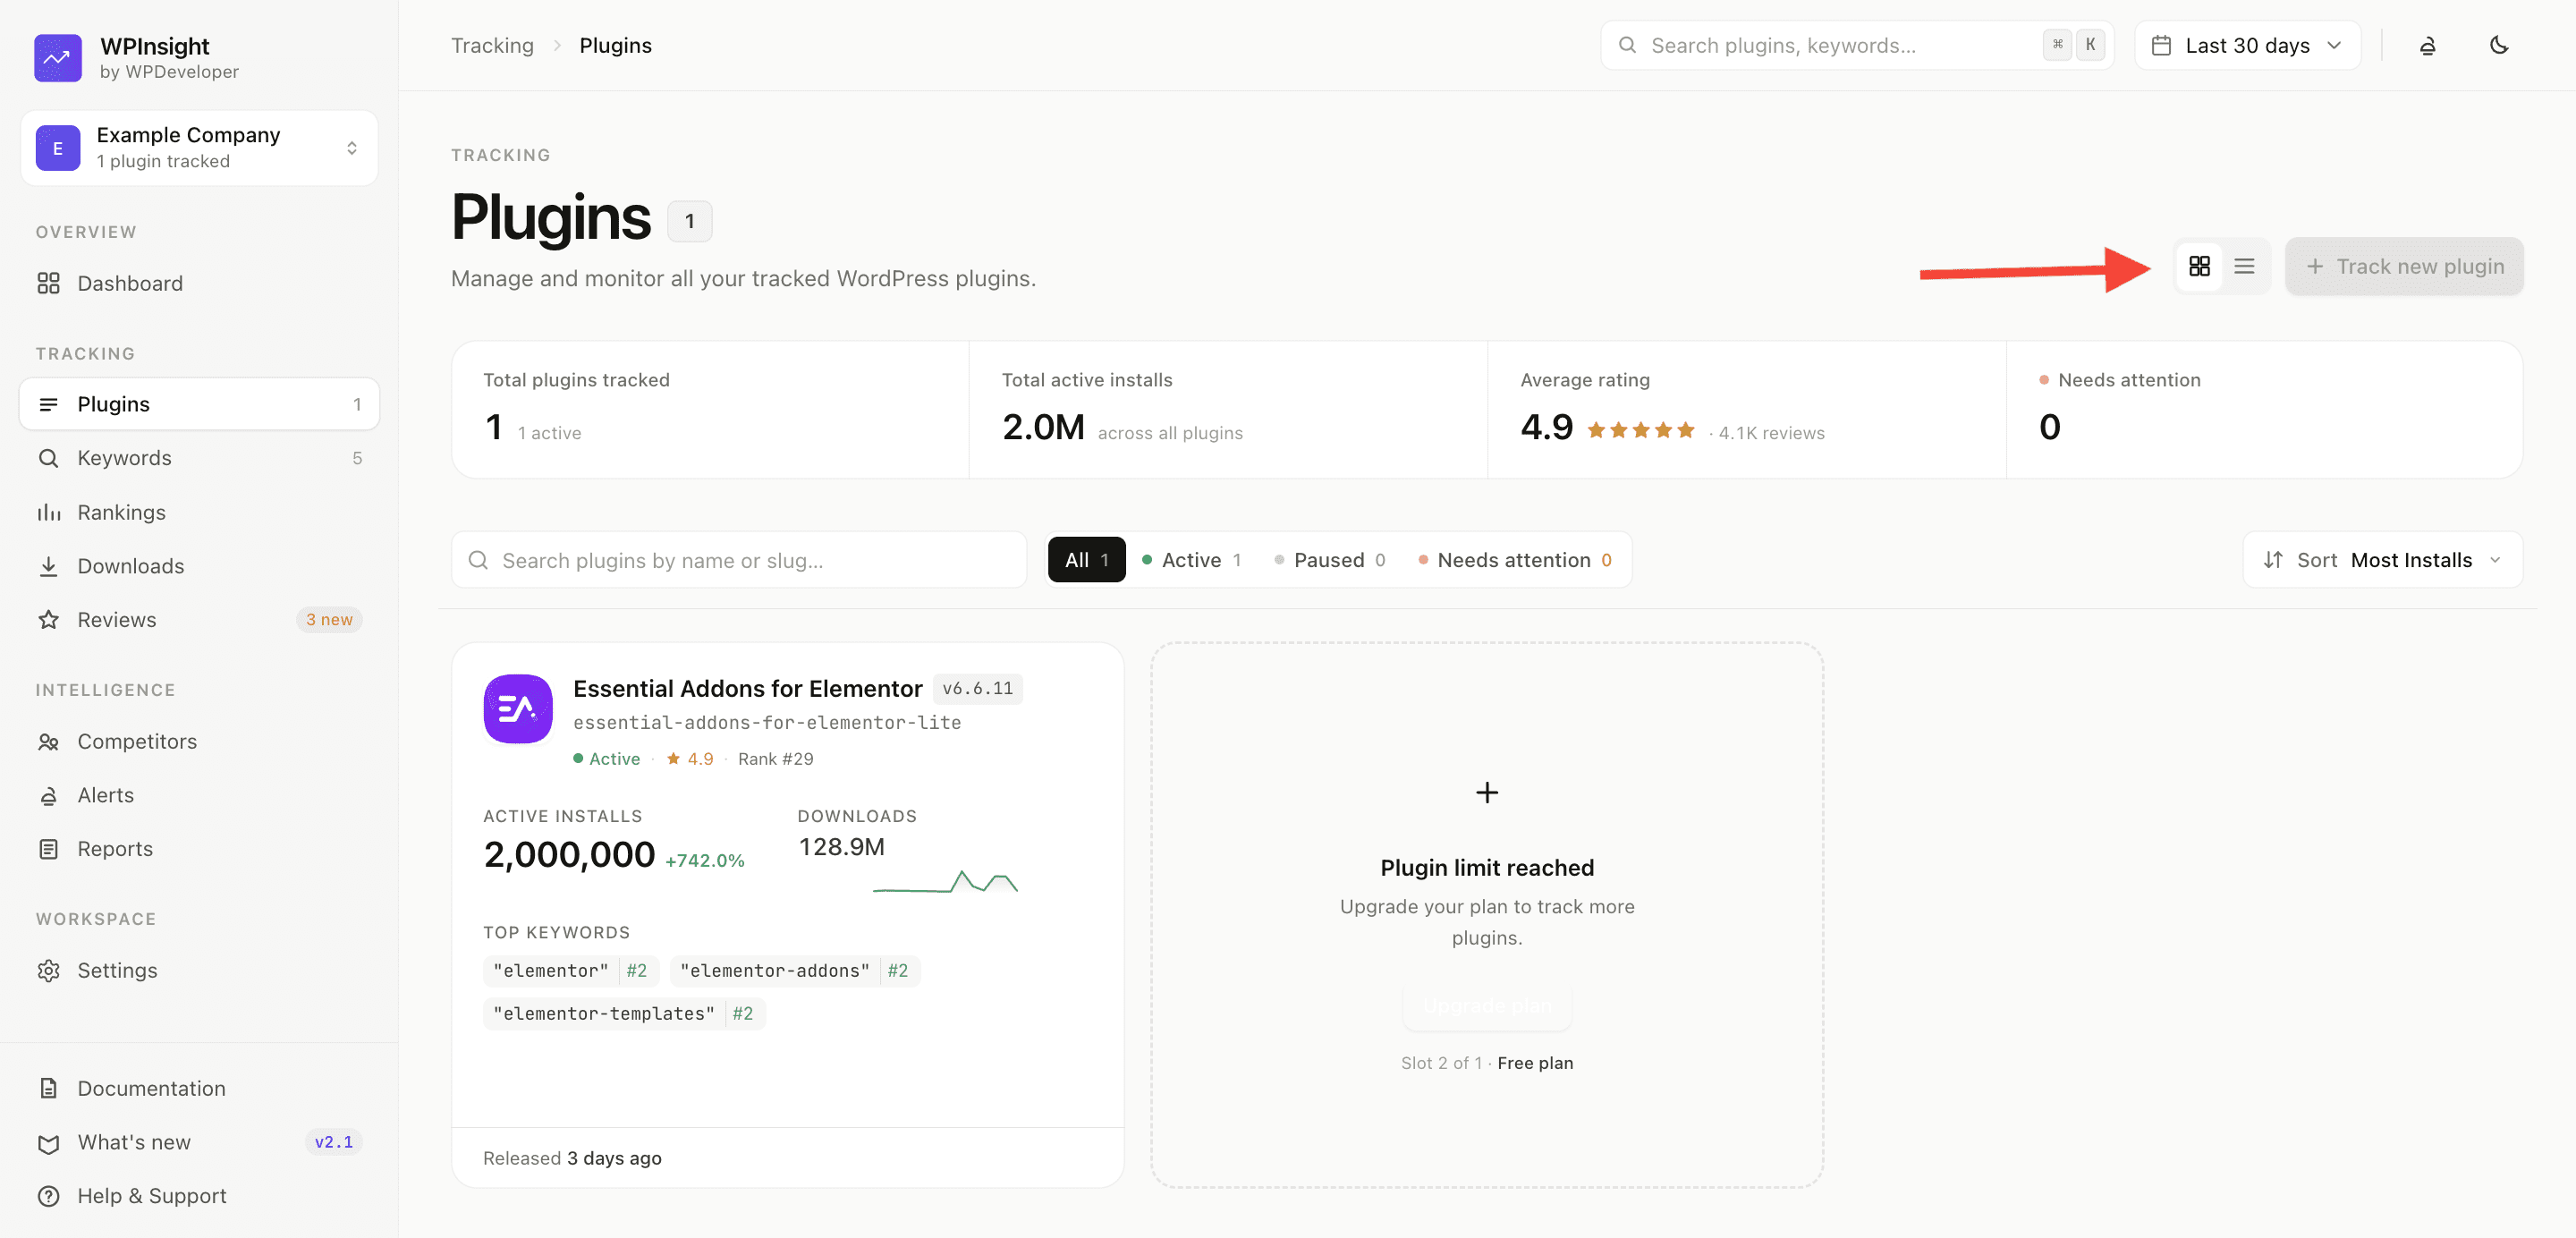
From the Plugins page you can switch between grid and list views, search and filter, refresh a plugin on demand, and stop tracking one you no longer need.
What you need to set up separately
- Keywords to track ranking positions for — see Add keywords to track rankings
- Competitor plugins (optional) — see Competitor intelligence
- Alerts and Slack reports (optional) — see Slack integration
Plan limits
Your plan sets how many plugins you can track — Basic (free) 1, Starter 5, Growth 20, and Enterprise custom. If you hit your limit, you’ll be prompted to upgrade before adding another plugin.